Introduction: The Art of Non-Intrusive Surgery
If a general visual inspection is checking the skin of a patient, then Borescope Inspection is the endoscopy. In the high-stakes world of aviation maintenance, dismantling a multi-million-dollar jet engine for a routine internal check is a financial and operational impossibility. A full teardown can cost hundreds of thousands in labor, parts, and lost revenue from an aircraft on the ground (AOG), a process spanning weeks.
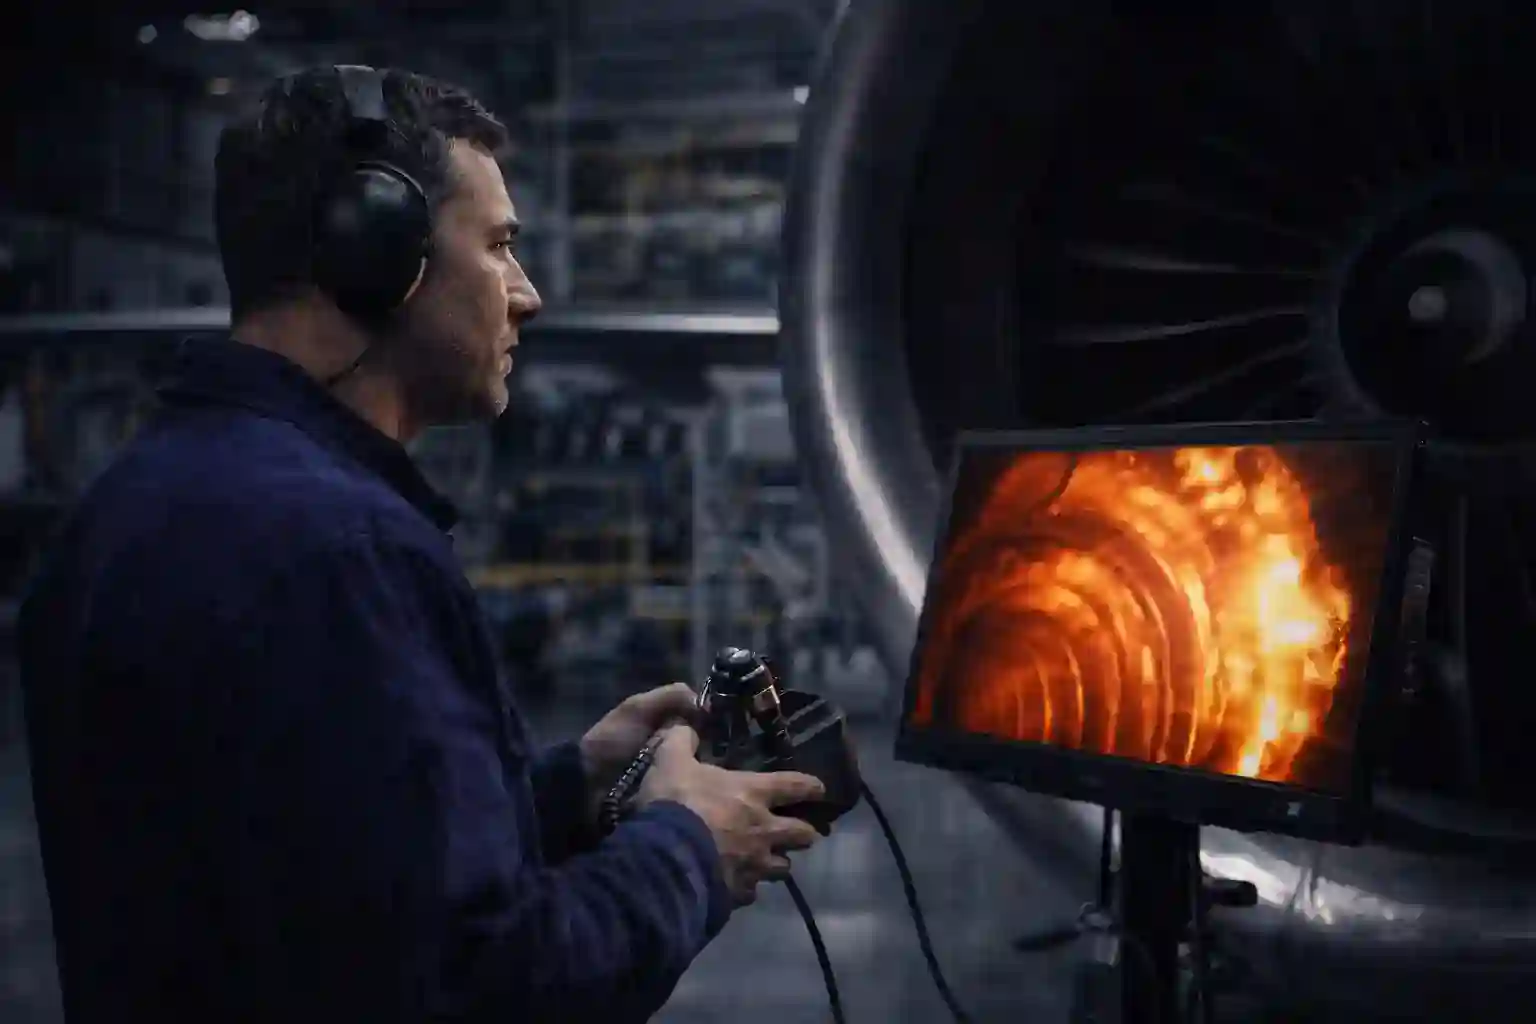
Enter the art and science of Borescope Inspection, technically known as Remote Visual Inspection (RVI). This non-destructive testing (NDT) technique empowers a skilled inspector to navigate a flexible, technologically advanced probe deep into the burning heart of a turbine. It allows for the diagnosis of damaged compressor blades, scorched combustion liners, and micro-cracks on turbine vanes—all while the engine remains securely on the wing. It is preventive medicine for machinery, transforming guesswork into precise, data-driven diagnostics.
In this comprehensive Borescope Inspection Guide for 2025 and beyond, we explore the intricate world of aviation RVI. We will demystify the critical differences between traditional fiberscopes and modern 3D-measurement videoscopes, identify the critical defects found in each engine section, and explain why “driving” a probe is a high-skill profession that takes years of experience to master. This is the definitive look at the technology safeguarding modern flight.
What is RVI? The Technology Behind the Eye
As defined in this Borescope Inspection Guide, the process is fundamentally the method of extending the human visual sense into confined, inaccessible, or hazardous areas. It relies on a family of sophisticated optical instruments designed for specific challenges. As detailed in this Borescope Inspection Guide, the choice of NDT tool is dictated by: access path, image quality, and measurement needs.
1. Rigid Borescopes
These are the foundational instruments, resembling long, precision-machined metal tubes with a series of glass lenses relaying light and image.
- Pros: Unmatched optical clarity and brightness due to high-quality glass lens systems. They are also generally more durable for straightforward applications.
- Cons: As the name implies, they cannot bend. Their utility is limited to components with a direct, straight-line access path, such as cylinder walls in piston engines, specific gearbox ports, or machined bores in airframes.
2. Flexible Fiberscopes
A significant leap forward, these instruments use two bundled cables of thousands of ultra-thin glass fibers—one to transmit light for illumination, and another to carry the image back to the eyepiece.
- Pros: Revolutionary flexibility allows the probe to navigate complex bends and serpentine paths, vastly expanding inspectable areas.
- Cons: The image quality is inherently pixelated, exhibiting a “honeycomb” or screen-door effect, as each fiber carries a single pixel of light. Image degradation is also inevitable over time as individual fibers break, appearing as permanent black dots in the field of view. This limits precise defect assessment.
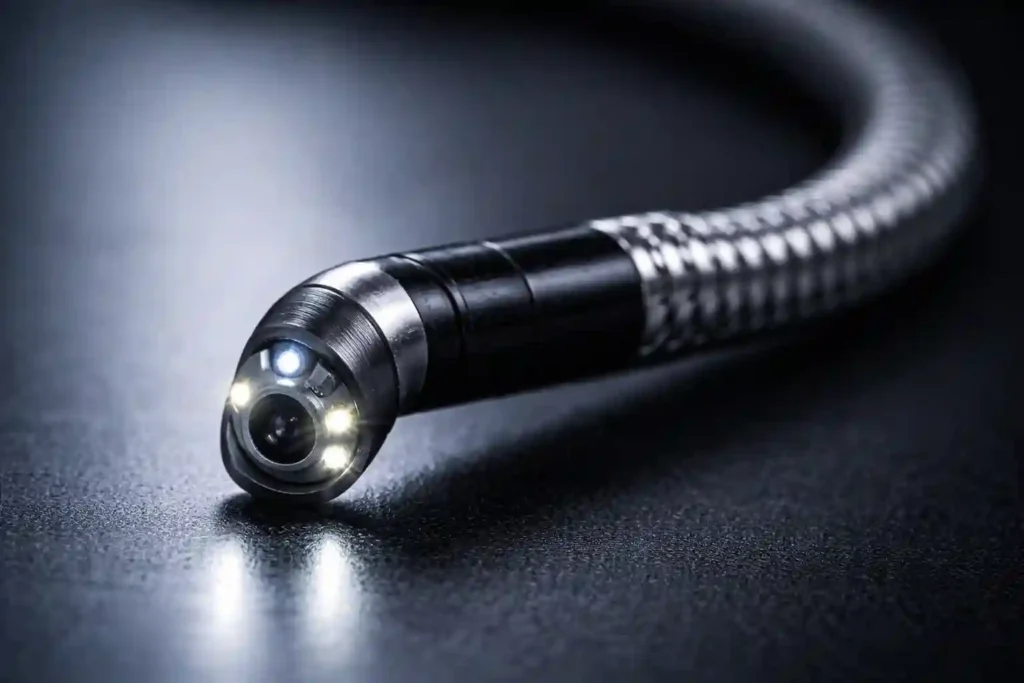
3. Video Borescopes (Videoscopes)
The undisputed industry standard in 2025. These systems replace the fragile fiber bundle with a miniature, ruggedized CMOS or CCD camera chip mounted directly on the tip of the flexible probe.
- Pros: Deliver stunning high-definition digital images and video directly to a high-resolution monitor. This enables documentation, team analysis, and trend monitoring. Their most transformative feature is articulation—a motorized tip controlled by a joystick that can bend up to 360 degrees, allowing the inspector to “look around” and behind components without moving the probe sheath.
- The Game Changer: Modern videoscopes integrate advanced measurement technologies, transforming inspection from mere observation into precise quantitative analysis. This is where RVI evolves from an art to a rigorous engineering discipline.
Navigating the Jet Engine: The 3 Zones
A comprehensive borescope inspection of a turbofan engine follows the path of the airflow, from intake to exhaust. Each zone presents unique challenges, defects, and inspection protocols.
Zone 1: The Compressor (Cold Section)
This front section, comprising the Low-Pressure (LPC) and High-Pressure (HPC) compressor stages, acts as the engine’s lungs, squeezing incoming air.
- The Primary Enemy: FOD (Foreign Object Damage). As the first point of contact, it is vulnerable to ingesting birds, runway debris (FOD), hail, and ice.
- What to Look For: Nicks, dents, bends, and tears on the leading and trailing edges of blades. Even minor damage can disrupt aerodynamic efficiency and lead to fatigue cracks.
- Technique & Challenge: The engine must be manually “cranked” or rotated stage-by-stage. The inspector must methodically examine every single blade in a row, often hundreds, maintaining orientation and count—a tedious but critical task to avoid missed defects.
Zone 2: The Combustor (The Furnace)
Here, compressed air mixes with fuel and ignites in a controlled inferno within the combustion chamber.
- The Primary Enemy: Extreme Thermal Stress. Components are subjected to temperatures exceeding 2000°C, protected only by advanced cooling and Thermal Barrier Coatings (TBC).
- What to Look For: Cracks or clogging in fuel nozzles (affecting spray pattern), burn-through holes or severe cracking in the combustion liner, and deterioration or spallation of the TBC. Missing TBC exposes the base metal to melting temperatures.
- Technique & Challenge: Access is through small ports (like igniter or injector holes). The probe must be carefully articulated to navigate the annular chamber, inspecting all fuel nozzles and liner panels. Patience and a systematic approach are vital.
Zone 3: The Turbine (Hot Section)
The High-Pressure Turbine (HPT) blades, directly downstream of the combustor, endure the most extreme mechanical and thermal stresses in the entire engine.

- The Primary Enemy: Creep, Oxidation/Sulfidation, and Thermal Fatigue. These mechanisms slowly degrade the superalloy blades.
- What to Look For: Cracks (especially on the blade root “platform” or along the airfoil), clogged cooling holes (which can cause localized melting), erosion of the trailing edge, and coating loss. The condition of the stationary turbine nozzle guide vanes is equally critical.
- Criticality: A failure in the HPT is often non-contained and catastrophic. Inspection here is treated with the highest level of scrutiny. Measurements are not optional; they are mandatory.
The Science of Measurement: Size Matters
Finding a defect is only the first step. In the regulated world of aviation maintenance, quantification is everything. Manuals provide strict acceptance and rejection criteria based on defect dimensions. “It looks big” is grounds for failure in an audit. Accurate measurement determines if an engine can continue in service, requires a future shop visit, or must be removed immediately.
1. Stereo Measurement (Shadow Probe) A traditional, proven method. The videoscope tip features two separate optical paths or lenses, mimicking human binocular vision. The system captures two slightly offset images of the defect. Sophisticated software uses triangulation and known reference points to calculate width, length, and depth. Application: Effective for measurable defects on relatively flat or simple curved surfaces.
2. 3D Phase Measurement / Focus-Based 3D This represents the cutting edge in 2026 RVI technology. The system does not rely on multiple lenses. Instead, it projects a precise pattern of laser light or structured light onto the target surface. By analyzing the distortion of this pattern across the contours of the defect, or by using advanced focus stacking algorithms, the software constructs a detailed topographical map. Benefit: Provides exceptional accuracy for complex measurements on highly curved surfaces, such as the depth of a pit in the concave side of a blade or the true length of a crack following a three-dimensional path. It effectively creates a microscopic 3D scan inside the engine.
Technician Challenges: A Practical Borescope Inspection Guide
Borescope inspection is as much about human skill and discipline as it is about technology. The environment presents unique cognitive and physical challenges.
1. Spatial Orientation & Tracking (Avoiding “Getting Lost”)
Inside a dark engine, with rows of nearly identical blades, disorientation is a constant risk. Mistaking blade #24 for #25 can mean missing a critical defect.
- Best Practice: Always establish a definitive, unchanging reference point at the start of inspection—such as a unique locking blade, a marked vane, or a specific gear tooth seen through a port. Meticulous counting and logging are non-negotiable.
2. The Critical Role of Guide Tubes
You cannot simply push a flexible probe into an engine and expect it to find the correct viewing area. Engine-specific guide tubes—rigid, shaped aluminum or steel tubes—are inserted into designated ports. They protect the probe, provide a stable pathway, and ensure the camera tip is positioned at the optimal viewing angle and distance.
- Tool Control Imperative: A guide tube left inside an engine is a severe FOD event. Rigorous tool control procedures, including shadow boards and checklists, are mandatory before engine closure.
3. Probe and Heat Management
Modern videoscopes contain sensitive electronics and optics. Inserting a probe into an engine that was recently running risks thermal damage, including melted lens housings or sensor failure.
- Golden Rule: Follow the manufacturer’s and engine manual’s cooling requirements. A common field rule is: “If the port is too hot to comfortably hold your bare hand against, it is too hot for the probe.” Always use temperature stickers or probes when in doubt.
Career Path: The Elite RVI Specialist
While many Airframe & Powerplant (A&P) technicians perform basic visual checks, the role of a dedicated RVI Specialist is a highly valued and distinct career path. As highlighted throughout this Borescope Inspection Guide, NDT certification frameworks (e.g., SNT-TC-1A, NAS 410), RVI often falls under Visual Testing (VT) but requires supplemental, engine-specific training. A true specialist moves beyond simply operating the tool.
They develop an intuitive understanding of “normal” versus “abnormal,” distinguishing between a harmless carbon stain, a manufacturing artifact, and a dangerous incipient crack. This expertise directly translates to immense financial value for an airline: the ability to confidently extend engine on-wing life and avoid unnecessary, multi-million-dollar shop visits (“saves”), while simultaneously identifying the subtle defects that prevent in-flight failures (“catches”). The specialist is both detective and guardian.
Conclusion: The Ultimate Borescope Inspection Guide Takeaway
Borescope Inspection is the closest equivalent to granting maintenance crews superhuman vision. It illuminates the hidden, critical worlds within an aircraft’s most vital organ. As next-generation engines like the GE9X and Ultrafan become more complex, efficient, and operate at even higher pressures and temperatures, the reliance on advanced, quantitative RVI will only intensify. For the aviation industry, it is an indispensable pillar of safety, reliability, and economic efficiency. For the technician, mastering the joystick, interpreting the pixelated shadows, and commanding 3D measurement logic is a honed craft. It represents the final, critical line of defense, ensuring the heart of the aircraft is not just intact, but airworthy, ready to propel its next flight with unwavering integrity.
