I still remember my first proper glacier landing in a ski-equipped 180. The altimeter said “no sweat,” the air felt dense and cold, and the surface looked like a billiard table—until the last 200 feet, when flat light erased every contour and a whisper of tailwind tried to nudge us long. We went around, reset with more contrast and a tighter energy picture, and the second approach clicked. That day cemented a rule I’ve carried ever since: glacier landings reward ruthless planning and humble flying. Below is the playbook I use and teach—what to do before you roll a ski onto ancient ice, how to choose a landing zone that won’t swallow you whole, and the gear that turns an unplanned night out into a non-event.
If you want checklists you can print and carry, grab our step-by-step packets in Flight School Guides, rehearse scenarios in Simulator Technology, and compare ski kits and winterization notes in Private & Business Aircraft.
First things first: the legal picture (no freelancing)
From Alaska to the Alps, legality is binary. In Denali National Park, glacier landings are allowed only with approved concessionaires—start with the NPS list of Denali air taxis. In Switzerland, only designated mountain landing sites (Gebirgslandeplätze) are legal, overseen by FOCA—see FOCA’s mountain landing sites page. New Zealand’s Southern Alps have their own CAA approvals and advisories around Aoraki/Mt Cook. Bottom line: either fly with an approved operator or complete recognized mountain/glacier training with an authorized school. I’ve seen great pilots lose certificates and careers over “it’ll be fine” glacier drops.
Performance planning: power, drag, density altitude (and honest margins)
Cold air doesn’t always mean “sea-level performance.” Sun on snow can push density altitude higher than your gut expects, and even a small upslope can add seconds you don’t have. On skis, wet snow adds suction and turns normal deceleration into a handbrake; on wheels, “looks firm” can become “dug to the axles” in one airplane-length. My rule is book numbers plus a big buffer—30–50% extra distance for departure is a healthy starting point. If that sounds dramatic, it isn’t; it’s how you buy options.
From my experience: we brief a hard go/no-go gate for takeoff—e.g., “If we’re not showing 30 kt by that dark serac/shadow line, abort.” That one sentence has saved more skis than any other technique I teach.
If you want to refresh fundamentals before adapting them to snow and slope, revisit short/soft-field technique in the FAA’s Airplane Flying Handbook and then layer on the glacier-specific tweaks below.
Wind, slope, terrain: you’re landing on moving air over tilted ice
Your “runway” is a slope inside a wind machine. Whenever possible, plan into-wind and upslope for landing; just be ready to accept a downslope, slight tailwind for takeoff if it gives you safer acceleration and terrain clearance. On recon, I’ll often find that the prettiest touchdown point is not the safest accelerate-stop lane; brief both directions before you commit.
A mentor in the Alps drilled a habit I still practice: on approach, keep a mental escape fan off your nose—three headings that give you terrain clearance if the surface suddenly looks wrong. If you can’t articulate those outs to your right-seat in one breath, you’re too committed for the information you have.
Whiteout and horizon loss: how to keep your eyes honest
Flat light is a silent thief. One winter in Switzerland, my student flew the most disciplined pattern I’d seen all week—until the last 300 feet, when the horizon melted into the surface. He froze. Our fixes were simple and immediate: contrast (goggles and a dark tarp the ground team had staged), callouts (stable, stable, stable), and patience. If you can’t create texture—shadows, saw-cuts, markers—don’t land. Morning and late-day sun angles help; mid-day haze rarely does.
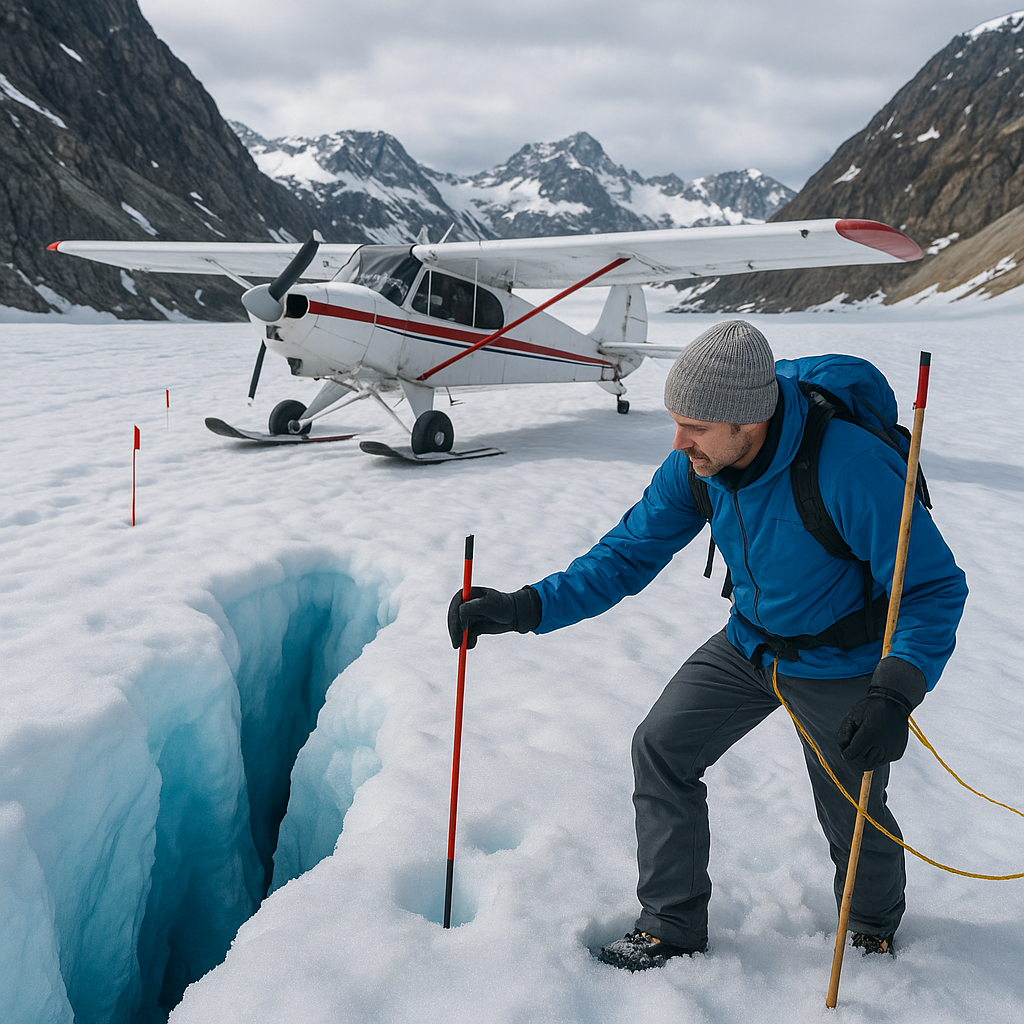
Reconnaissance: the crevasse discipline (assume guilty until proven safe)
Crevasses are the enemy you don’t always see. You’ll find safer options in accumulation zones than near icefalls or convex bends, but nothing substitutes for a two-tier recon:
- High recon (2,000–500 AGL): Map slope, wind streaks, avalanche debris, recent snow, and sun angle. Pick a primary and a backup LZ with go-around corridors you can actually use.
- Low recon (≤500 AGL): Fly a racetrack into wind. Hunt for sags, gray-blue patches, sunken lines. If any depression or color shift smells like a bridge, assume it’s hollow and go elsewhere.
In Alaska and the Alps, approved operators maintain and test seasonal zones. If you’re not part of that program, don’t “borrow” their work—partner with them.
Avalanche awareness: the hazard you cross on the way in
Even if your LZ is flat, your approach or departure may cut under start zones. Post-storm and wind-loading days are primed to slide. In the U.S., I won’t go near alpine entries without checking avalanche.org first; in Europe and NZ, use your local bulletin. If the board says High, I don’t “thread the needle”—we go do laps somewhere honest.
Approach and touchdown: how I actually fly it
- Stabilized approach at V_SO + a crisp margin, power in through the flare to arrest sink.
- Tail-low on wheels; even weight across skis.
- Let snow drag help you; brake like there’s a crevasse ahead (i.e., gently).
- After touchdown, S-turn slowly off the packed track. If the support changes under a ski, you want it at taxi speed, not flying speed.
A mistake I see a lot of pilots make is trying to “learn on the glacier.” Don’t. Practice the energy picture and sight picture on groomed snow or prepared strips with an instructor, then graduate to real ice.
Parking, cold-soak, and departure: plan for the sun
Tie down (ice screws if allowed), blanket the engine, mind the battery, and assume your 09:00 marble will be slush by 14:00. Before departure, drag a lane to re-compact snow, brief your speed/torque gate, and visualize your abort path. If you don’t see the target numbers by the marker you chose, bail early—don’t try to save a takeoff on skis.
A fictional (but technically faithful) case study: the 7,800-ft softening trap
Two of us took a ski-equipped 180 to a broad bench at 7,800 ft MSL on a bluebird March day. Morning temp −6 °C, DA looked like ~6,400 ft; by early afternoon, with sun on new snow, DA crept to ~8,200 ft. Our first pass at book numbers said 950–1,050 ft to lift in morning conditions, so we doubled our accelerate-go comfort distance and staked out 2,000 ft with clear abort options. We landed at 09:20, skied a short traverse, and brewed coffee. By 12:30 the surface had the give of stale meringue. We compacted a lane, lined up on our 30-kt gate at the third rock fin, and pushed. At the gate: 28 kt. Abort. Second try after more packing: 31 kt at the gate and fly-off at ~52–55 kt indicated with a whisper of upslope headwind. If we’d trusted only our 09:00 math, we might have forced a marginal roll in mushy snow—with no extra favors from the DA. The margin saved us a bivy.
Survival kit: plan to be wrong—and be fine anyway
Glacier flying’s dirty secret is how quickly “perfect” can go non-VFR. I pack as if I’ll spend the night:
- 406 MHz PLB/ELT + satellite messenger (inReach-type) for two-way updates.
- Shelter & heat: bivy or bothy bag, compact stove, fuel, fire kit, closed-cell pad.
- Medical: trauma gear, blister kit, sunscreen, lip block.
- Avalanche set when near start zones: beacon, probe, shovel.
- Clothing: spare warm layers, goggles, mitts in a dry bag.
- Signals: panel, mirror, whistle, headlamp with strobe.
Think in two timelines: what keeps you comfortable for six hours if weather closes, and what keeps you alive for 36 hours if rescue takes time.
Training and currency: stack the skills, then go with pros
Glacier ops mix short/soft-field work, mountain weather judgment, whiteout management, and cold-weather ops. Build in layers: short-strip → winter ops → mountain flying → dedicated glacier training. In Switzerland, FOCA’s program for Gebirgslandeplätze requires documented mountain landing training (see FOCA’s page). In Alaska, use the NPS Denali air taxi list to fly with operators who maintain and monitor glacier LZs. Don’t dabble.
Compact glacier-ops checklist (copy to your phone)
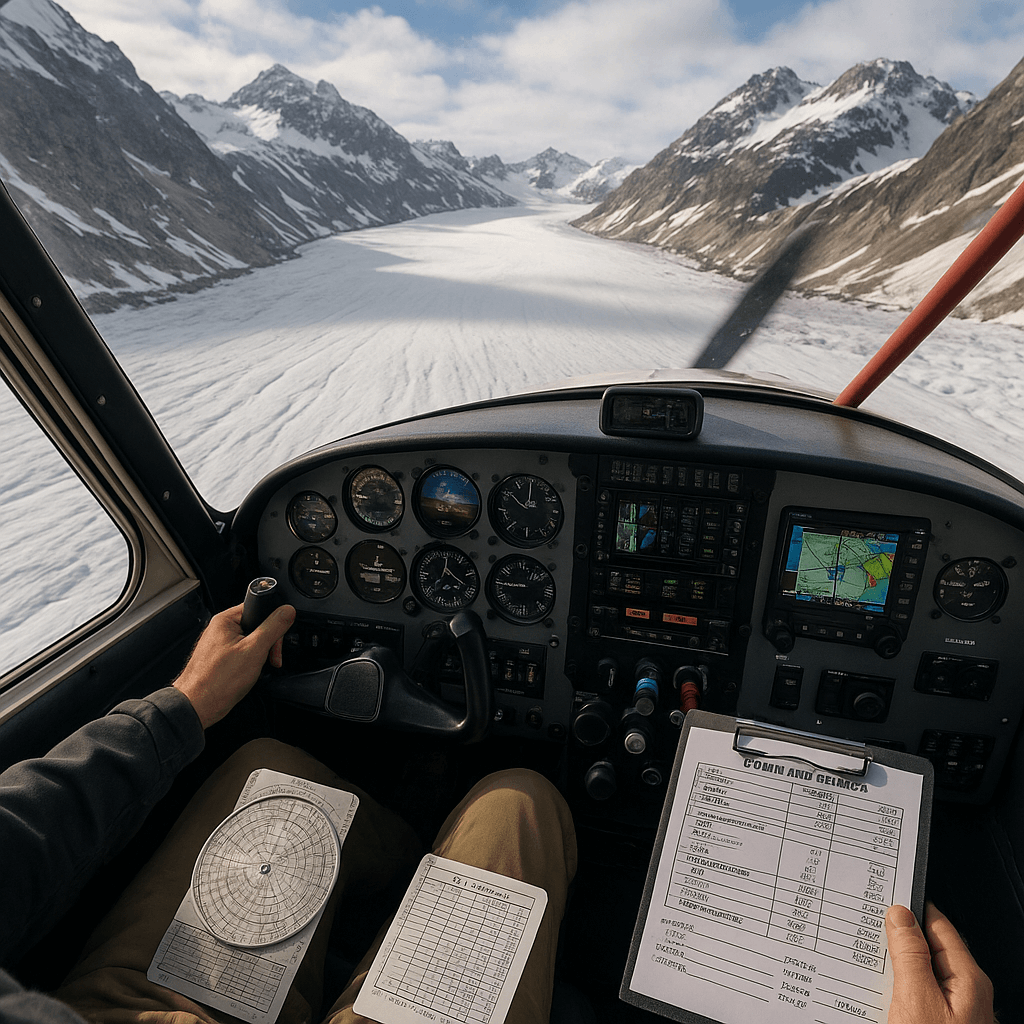
- Legalities: Permits/operator status confirmed (Denali/FOCA/NZ CAA as applicable).
- Performance: Compute DA; add 30–50% distance buffer; brief a speed/torque gate.
- Recon: High + low; mark primary/backup LZ; confirm go-around corridors.
- Whiteout: Horizon/texture visible; create contrast or don’t land.
- Avalanche: Check avalanche.org (or local bulletin); avoid start zones on approach/departure.
- Survival: PLB/ELT, sat messenger, shelter, med kit, warm layers, (beacon/probe/shovel if needed).
- Departure: Re-compact lane; cold-soak mitigations (blankets, oil dilution if applicable); abort plan briefed.
Why margins matter (a quick true tale)
During a Denali-area training flight in 2016, we planned a stop on the Ruth Glacier around 7,500 ft. The numbers worked—barely. My instructor simply said, “Double them.” After lunch, the surface softened, and our first rollout bogged mid-lane. Thanks to that extra 40%, we had room to reset and launch clean. No heroics, no busted gear, and no “learning experience” we’d have to explain later.
Glacier landings aren’t about bravado. They’re about planning like an engineer, flying like a surgeon, and packing like you’re staying the night. Treat legality as the gate, performance as a math problem with wide margins, crevasses as guilty until proven safe, whiteout as a no-go unless you can make texture, and survival as non-negotiable. Do that, and glacier ops become what they should be: awe-inspiring, disciplined flights at the edge of the map.
If you’re getting serious, layer this guide with technique cards in Flight School Guides, run the “whiteout + soft-field” profiles in Simulator Technology, and sanity-check ski kits and cold-weather mods in Private & Business Aircraft. And keep a couple of authoritative references handy: the FAA’s Airplane Flying Handbook for fundamentals, avalanche.org for your daily hazard snapshot, and the official pages for Denali air taxis and Swiss mountain landing sites so you stay on the right side of the rules.
