When passengers look at an airplane, they see the paint, the livery, and the engines. But as an NDT (Non-Destructive Testing) controller with 20 years of experience, I see something different. I see thousands of stress points, hidden welds, and layers of metal that endure extreme forces every day.
The scariest defects in aviation are the ones you can’t see with the naked eye. Internal corrosion, delamination in composite structures, or hairline cracks hiding deep inside a landing gear bolt can lead to catastrophic failure.
This is where Ultrasonic Testing (UT) comes in. It is one of the most critical methods we use to keep aircraft airworthy. In this definitive guide, I will take you behind the scenes of a Ultrasonic Testing, aiming to bridge the gap between textbook theory and hangar reality.
The Physics: How We Use Sound to “See”
In simple terms, Ultrasonic Testing works like a medical ultrasound, but instead of checking a baby, we are checking the structural integrity of aluminum, titanium, and carbon fiber.
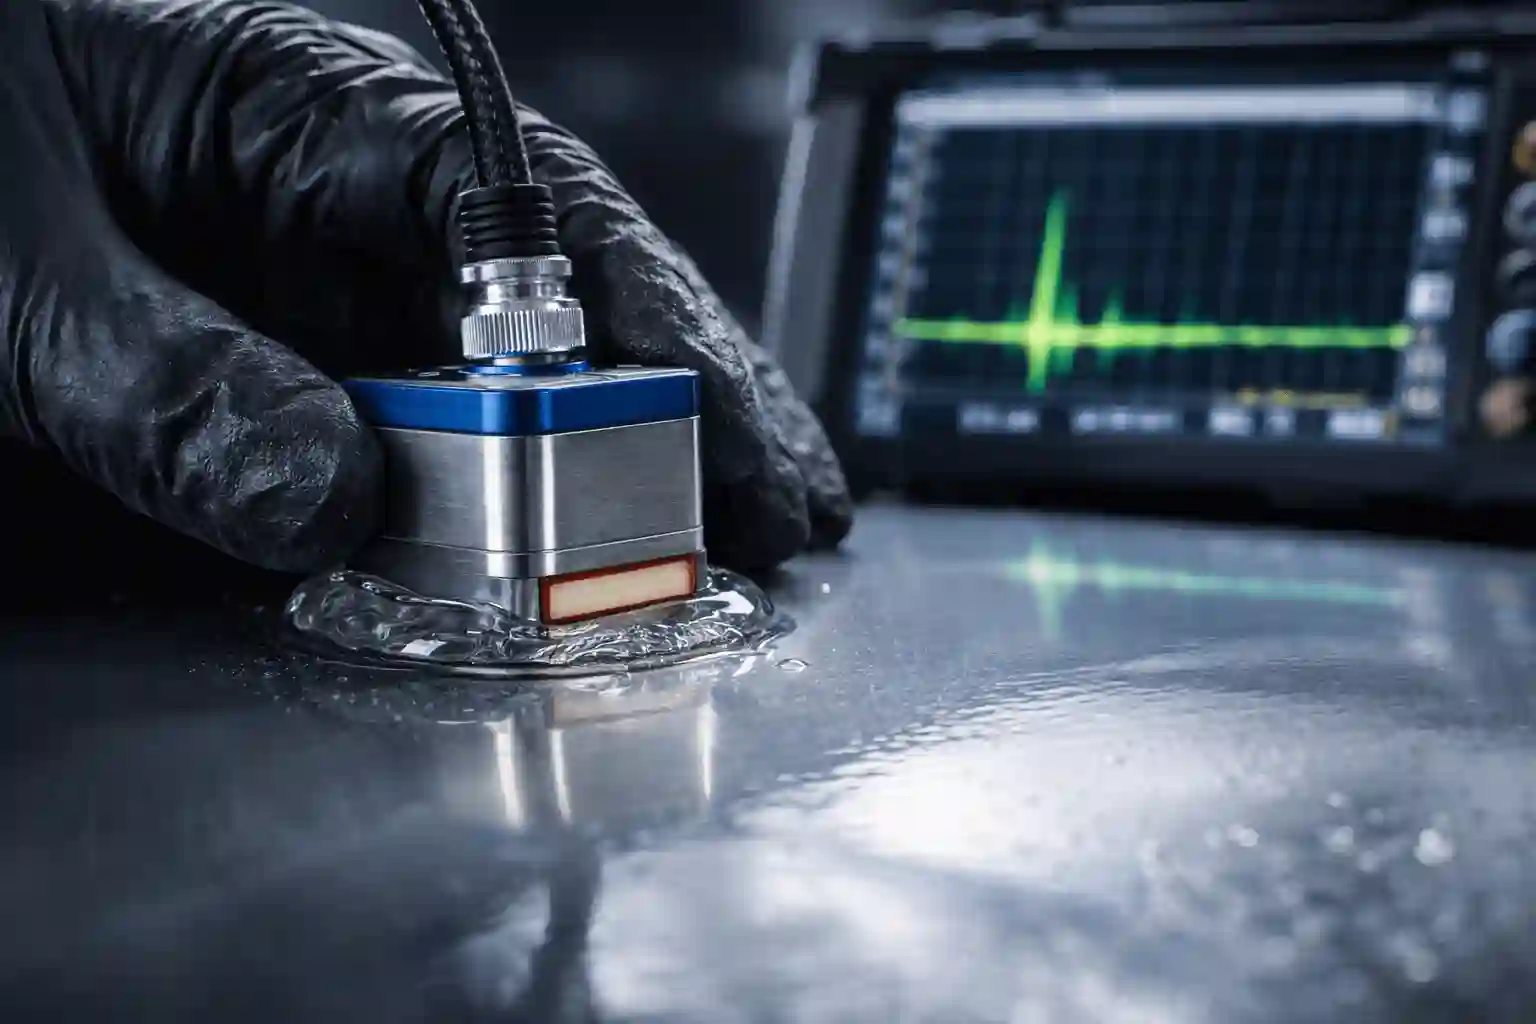
We use a transducer (probe) containing a piezoelectric crystal. When we send an electrical pulse to this crystal, it vibrates, sending high-frequency sound waves (typically between 1MHz and 10MHz) into the material.
These sound waves travel through the part until they hit an “acoustic interface.” This could be:
- The Back Wall: The other side of the part (a healthy signal).
- A Discontinuity: A crack, a void, or an inclusion that shouldn’t be there.
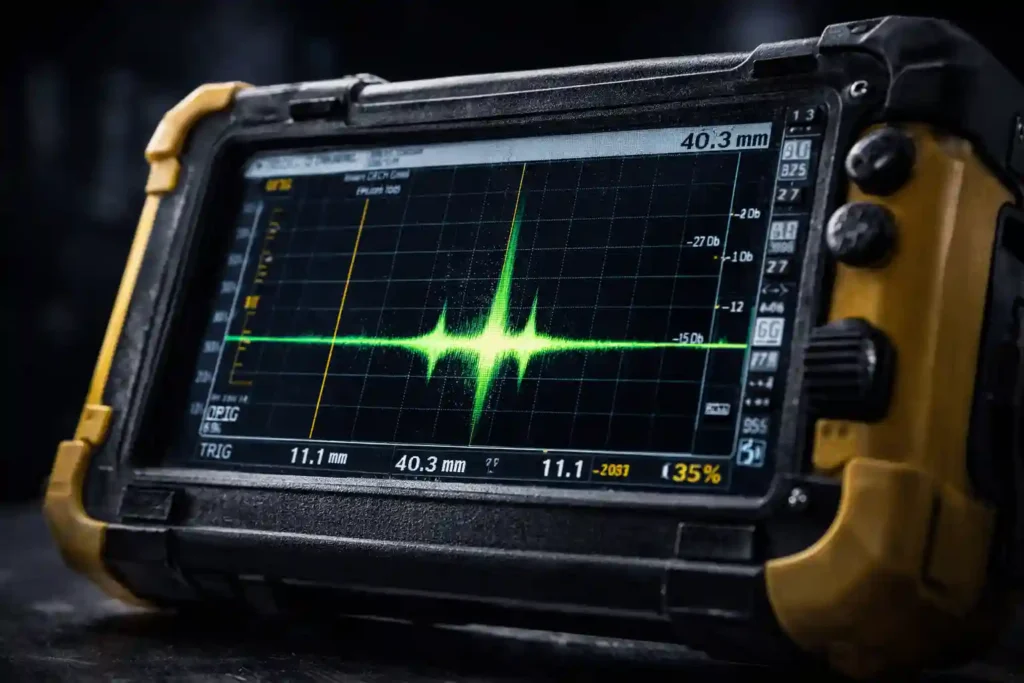
When the sound hits a defect, it bounces back to the probe. By analyzing the time of flight and the amplitude of this echo on our A-Scan screen, we determine the exact location and size of the flaw.
The Science: Longitudinal vs. Shear Waves
In aviation NDT, we don’t just use one type of sound wave. Depending on the defect orientation we are hunting, we must switch modes. This is a technical distinction, but it is crucial for accurate detection.
1. Longitudinal Waves (L-Wave / Straight Beam)
This is the standard “straight down” beam. Imagine dropping a ball straight down onto the floor. The particle motion is parallel to the wave direction.
- Primary Use: Detecting laminar defects (parallel to the surface) and thickness gauging.
- Example: Checking a fuselage skin to see if corrosion has reduced its thickness from 0.060″ to 0.040″.
2. Shear Waves (Angle Beam)
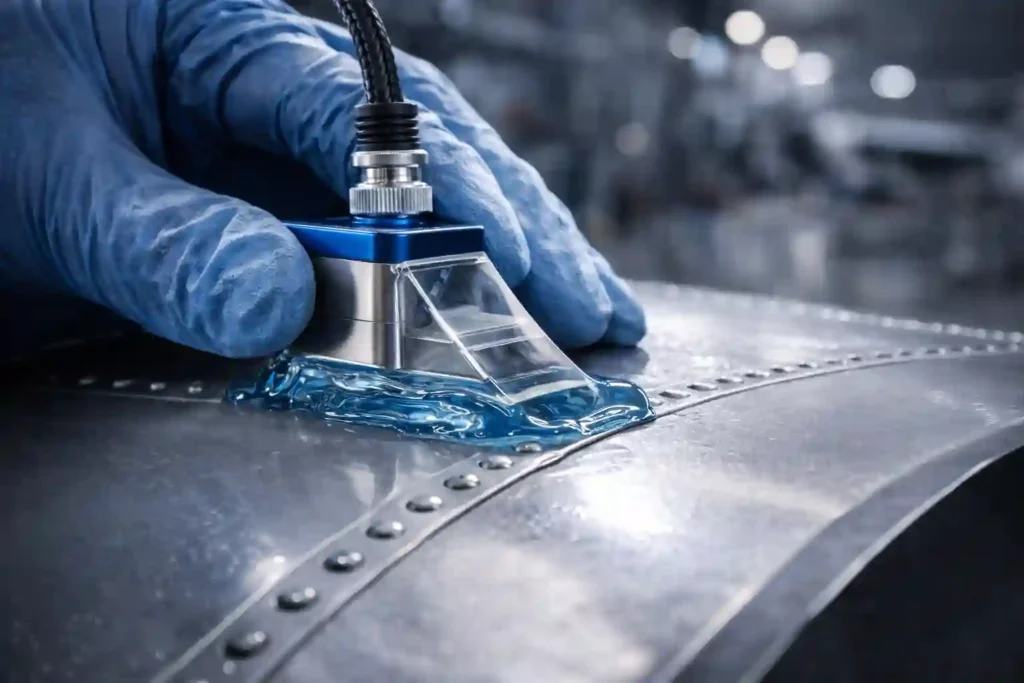
This is where the skill comes in. We inject the sound at a specific angle (usually 45°, 60°, or 70°) using a plastic wedge. The sound bounces inside the metal like a billiard ball banking off the rails.
- Primary Use: Detecting vertical cracks, especially around fastener holes or in welds.
- Why? A vertical crack is “invisible” to a straight beam (it slices right through it). A shear wave hits the broad side of the crack and reflects a strong signal back.

My Essential UT Toolkit
Over the last 20 years, I have used almost every flaw detector on the market. While the physics remain the same, the technology has evolved. Here is what is typically in my kit:
- The Flaw Detector: In the field, I rely on robust units like the Olympus EPOCH 650 or the Krautkrämer USM Go. We need devices that are rugged, handle bright sunlight (for tarmac inspections), and provide crisp A-Scans.
- Probes (Transducers): You can’t do the job with just one. My kit always includes a 5MHz dual-element probe for thin-gauge thickness measurement and a set of angle beam wedges for weld inspections.
- Couplant: It sounds simple, but couplant is the bridge for the sound. Air is the enemy of ultrasound (impedance mismatch). I always carry high-viscosity gel for vertical surfaces so it doesn’t drip onto sensitive avionics.
Step-by-Step: How I Perform a Critical Inspection
Here is what a typical inspection workflow looks like when I am called to inspect a wing spar or a bolt.
1. Surface Preparation
The probe needs perfect contact. If the paint is flaking or the surface is dirty, the sound won’t penetrate. We often have to clean the area thoroughly. Unlike Eddy Current, UT can work through paint, but only if the paint is bonded well.
2. Calibration (The DAC Curve)
Before touching the aircraft, I must calibrate. An uncalibrated machine is a guessing machine. I use a reference standard, typically an IIW Block or a specific Boeing/Airbus reference standard with known artificial notches.
- I often set up a DAC (Distance Amplitude Correction) curve. This tells the machine that a defect deep in the part will return a weaker signal than a defect near the surface, due to material attenuation. The DAC compensates for this, ensuring I don’t miss deep flaws.
3. The Scan
I move the probe systematically over the inspection area. My eyes are glued to the A-Scan (the waveform) on my screen.
- A steady signal from the “back wall” means the part is sound.
- The Spike: A sudden spike appearing in the middle of the graph (between the initial pulse and back wall) is a red flag. That’s the sound bouncing off something that shouldn’t be there.

4. Interpretation
This is where experience counts. Not every spike is a crack. It could be “noise” from the metal’s grain structure, or a geometric reflection (like the edge of a part). A Senior Inspector knows the difference between a false alarm (geometry) and a safety hazard (crack).
Real World Example: The “Invisible” Fatigue Crack
I recall inspecting a wing spar attachment fitting on a commercial jet during a heavy maintenance check (D-Check). Visually, the part looked pristine. The paint was intact, and there were no signs of stress.
However, the Service Bulletin (SB) called for a Shear Wave inspection. As I scanned around the fastener hole, my A-Scan spiked at 60% screen height. I moved the probe back and forth—the signal “walked” with the probe.
It turned out to be a 2mm fatigue crack initiating from the inside of the bore. If we had relied only on visual checks, that crack would have propagated until the fitting failed under load. Ultrasonic Testing found it years before it became dangerous.
Certification Paths: How to Become an NDT Tech
If you want to perform these inspections legally, you cannot just buy a machine and start scanning. You need certification.
- In the USA (FAA jurisdiction): We typically follow NAS 410. You will need 40 hours of classroom training for Level 1, plus 40 hours for Level 2, and hundreds of hours of documented OJT (On-the-Job Training) under a Level 3 mentor.
- In Europe (EASA jurisdiction): The standard is EN 4179. It is very similar, but strict adherence to your company’s “Written Practice” is key.
Be prepared for math! You will need to calculate skip distances, refraction angles, and sound velocity.
Conclusion
Ultrasonic Testing is more than just waving a probe over a wing. It requires a deep understanding of physics, materials, and strict adherence to the manufacturer’s manual (AMM).
For aspiring NDT technicians, mastering Ultrasonic Testing is a career-defining skill. It is the perfect blend of technology and hands-on work.
Do you have questions about Ultrasonic Testing equipment, DAC curves, or certification paths? Let me know in the comments below, and I’ll be happy to share my experience.


