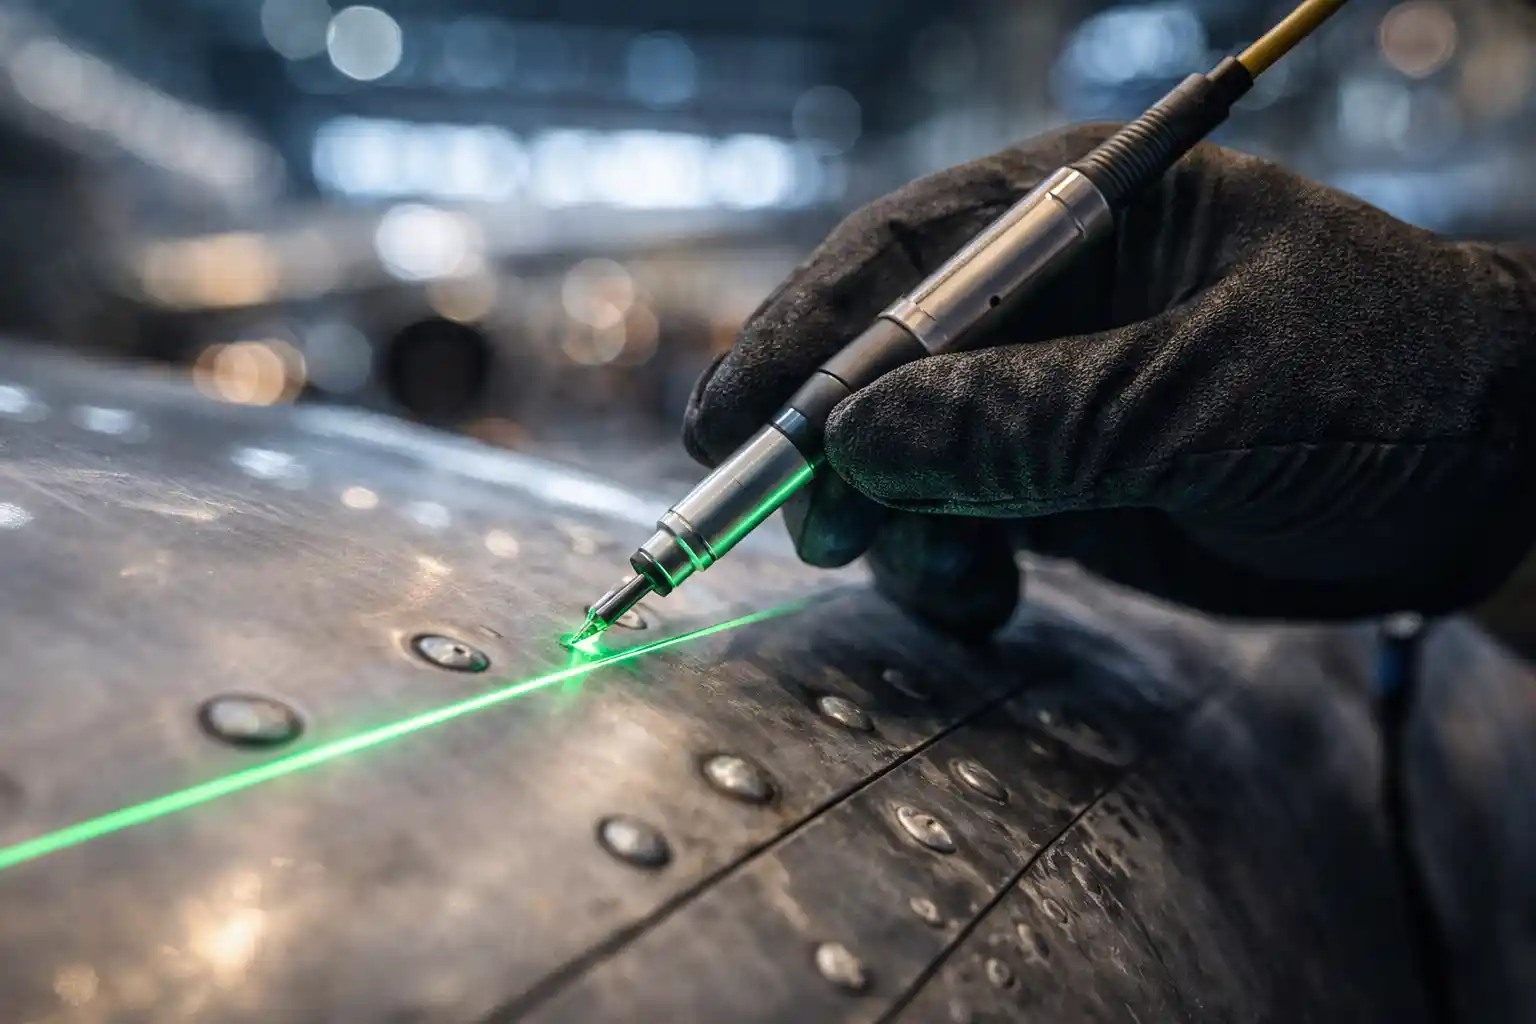
Introduction: Eddy Current Testing – The “Sixth Sense” of Aviation Maintenance
If visual inspection is the watchful eye of the aerospace industry, Eddy Current Testing (ET) is its indispensable sixth sense. This powerful Non-Destructive Testing (NDT) method grants technicians a near-supernatural perception: detecting microscopic cracks invisible to the naked eye, mapping heat damage through conductivity measurements, and assessing protective coating thickness—all without disassembly or paint removal. In a sector where safety is non-negotiable and failure prevention is paramount, ET stands as a critical technological pillar.
Modern aviation is built on aluminum and its high-performance alloys, comprising nearly 90% of a typical commercial airframe. For these reigning non-ferrous materials, traditional magnetic methods (like Magnetic Particle Inspection) reach their limits. Eddy Current Testing, however, excels precisely on these materials, making it the dominant technique for surface and near-surface inspection. This deep-dive guide goes far beyond the basics. We will delve into the fundamental physics of induction, decipher the subtle art of signal interpretation, explore the most advanced equipment, and demonstrate why mastering the “impedance plane” remains the hallmark of the true NDT expert.
Primary Keywords: Eddy Current Testing, ET Inspection, NDT Aviation, Non-Destructive Testing, Aluminum Surface Inspection, Impedance Plane, Eddy Current Probes, Aircraft Crack Detection.
1: The Core Physics Behind Eddy Current Testing
To master the method, you must first understand and respect the underlying physics. Eddy Current Testing rests entirely on the laws of electromagnetic induction, discovered by Faraday and Lenz.
The Electromagnetic Chain Reaction
- Excitation: An Alternating Current (AC) at a precise frequency is generated by the instrument and flows through a copper wire coil inside the inspection probe.
- Primary Magnetic Field: This alternating current creates a concentric, alternating magnetic field around the coil. This is the primary field.
- Induction: When this probe is brought near a conductive test piece (like an aluminum wing skin), the alternating primary magnetic field induces the flow of closed-loop electrical currents within the part. These circular currents, flowing parallel to the surface, are the namesake “eddy currents.”
- Opposition & Interaction (Lenz’s Law): According to Lenz’s Law, these eddy currents generate their own secondary magnetic field, which opposes the primary field that created them. This opposition manifests as an additional load on the drive coil, measured as a change in its impedance (the vector sum of resistance and reactance).
- Defect Detection: The presence of a discontinuity (a crack, corrosion, or alloy change) locally disrupts the normal flow of the eddy currents. This perturbation alters the secondary magnetic field and, in turn, the coil’s impedance. The highly sensitive instrument detects this minute variation and translates it into a signal for the technician to analyze.
2: The Critical Frequency Choice & The Skin Effect
One of the first and most strategic parameters a Level 2 NDT Technician must set is the test frequency. This choice is crucial; it directly dictates the depth of penetration of the eddy currents, a phenomenon governed by the Skin Effect.
The Skin Effect: A Physical Boundary
The Skin Effect describes the tendency of alternating currents to concentrate near the surface of a conductor. The standard depth of penetration (δ) is defined as the distance at which the current density falls to about 37% of its surface value. It is inversely proportional to the square root of the frequency (f), electrical conductivity (σ), and magnetic permeability (μ).
Simplified Formula: δ ≈ 1/√(π * f * σ * μ)
This formula explains the fundamental trade-off in Eddy Current Testing:
- High Frequency (HF): 100 kHz to several MHz
- Application: Surface inspection. Detection of incipient cracks, rivet head inspection, and coating thickness measurement. Currents are concentrated in the first few tenths of a millimeter.
- Advantage: Extreme sensitivity to minuscule defects (can detect cracks as small as 0.5 mm in length).
- Limitation: Very shallow penetration, ineffective for subsurface flaws.
- Low Frequency (LF): 100 Hz to 50 kHz
- Application: Sub-surface inspection. Detection of cracks in a second layer of metal (critical example: lap joints) without rivet removal. Assessment of deep-seated heat damage.
- Advantage: Increased penetration, which can reach several millimeters in aluminum.
- Trade-off: Loss of sensitivity to very small surface anomalies.
3: The Probe Arsenal: The Right Tool for Every Mission
A proficient Eddy Current Testing toolkit contains a range of specialized probes, similar to the essential gear detailed in our Best NDT Tools Guide, each engineered for a specific geometry.
1. Surface Probes (Pencil Probes)
The most versatile, used for manual scanning of skins, fastener hole peripheries, and wheel bead seats.
- Absolute Probes: Use a single coil, acting as both transmitter and receiver. Excellent for conductivity measurements (burn detection) and general flaw detection. Highly sensitive to “liftoff” (variations in probe-to-part spacing), which can be a disadvantage or an advantage for coating measurement.
- Differential Probes: Incorporate two active coils wired in opposition. Ideal for suppressing background noise from slow variations (temperature, uneven paint) and responding only to abrupt, localized changes like a crack.
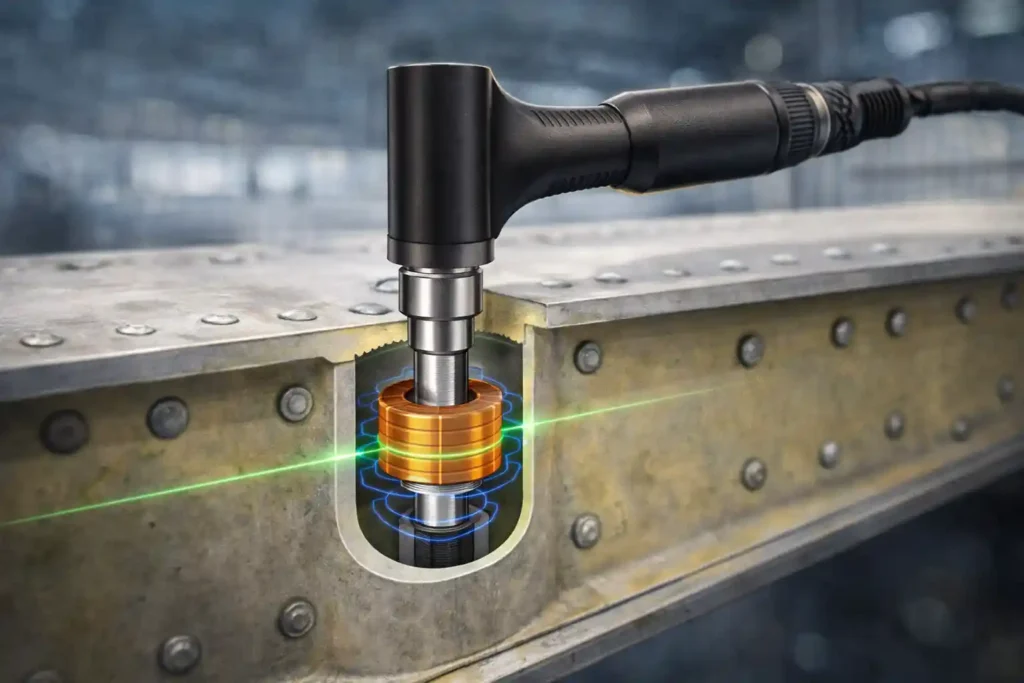
2. Rotary Bolt Hole Scanners
For inspecting bolt holes in wing spars or other critical structural elements. Once the bolt is removed, a miniature rotary probe is inserted into the bore. It performs a combined rotation + translation, mapping the entire internal surface into a color C-Scan image, revealing radial or circumferential fatigue cracks. Indispensable in Aging Aircraft Programs (Life Extension).
3. Sliding Probes (Slider Probes)
Designed for efficiency on fastener rows. Instead of stopping at each rivet, the technician slides the probe along the row. Its design specifically targets link-up cracks propagating from one fastener hole to the next.
4. Encircling Coils
Used for automated inspection of wires, bars, tubes, or sheet edges in production lines. The part passes through the coil’s center, allowing for 360-degree, high-speed inspection.
For detailed specifications on probe types, manufacturers like Olympus IMS (Evident) provide extensive catalogs and application notes.
4: The Art of Interpretation: Demystifying the Impedance Plane
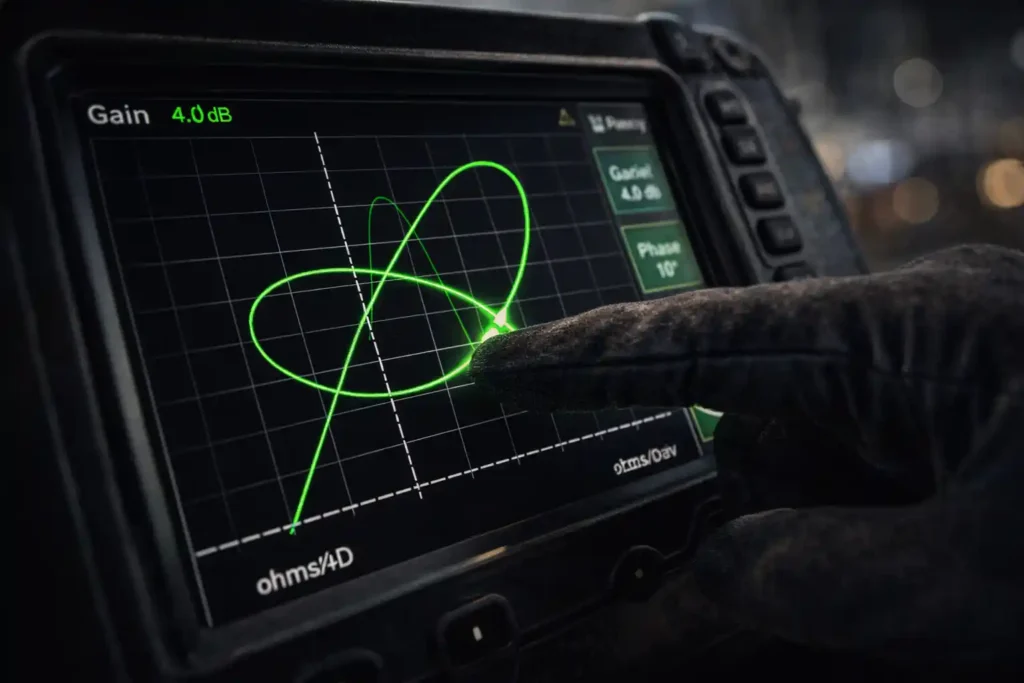
If the world of Ultrasonic Testing speaks the language of A-Scans (echoes and peaks), Eddy Current Testing reasoning operates in terms of the “flying dot” on the impedance plane. This two-dimensional graph (X-axis: Resistance, Y-axis: Reactance) is the heart of expert analysis.
The Liftoff Curve: The Reference Point
The most fundamental signature. When you lift the probe from the surface, the dot moves along a characteristic curve. By rotating the phase (angular rotation of the displayed signal), the technician aligns this liftoff curve horizontally. This crucial manipulation discriminates a harmless hand movement from a genuine defect signal.
The Crack Signal
Typically, a crack signal will cause a sharp deviation of the dot, often perpendicular to the liftoff line. Signal amplitude (length of the movement) is generally proportional to the crack depth or length. The direction of the signal provides information about the nature and orientation of the flaw.
The Conductivity Locus
A dot movement along a different curve, distinct from the liftoff curve, indicates a global change in the material’s electrical conductivity. This is the key indicator of heat damage (aluminum’s conductivity drops with overheating), alloy mix-ups, or incorrect heat treatment.
5: Advantages, Limitations & Comparison to Other NDT Methods
Why Choose Eddy Current Testing?
- No Contact Required: Inspection through non-conductive paints, films, and coatings. Massive time and cost savings by avoiding stripping.
- Speed & Immediate Feedback: Real-time results, no dwell or development time as required by Liquid Penetrant Testing.
- Exceptional Sensitivity: Capable of revealing extremely fine discontinuities.
- Multi-Parameter Versatility: One technology can serve flaw detection, conductivity measurement (% IACS), and coating thickness assessment.
Inherent Limitations
- Conductive Materials Only: Ineffective on pure composites (carbon fiber, fiberglass), except for inspecting embedded lightning strike protection mesh.
- Surface Finish Sensitivity: Rough, oxidized, or irregular surfaces generate parasitic noise.
- Limited Depth of Penetration: Primarily a surface/near-surface method. For deep flaws, Ultrasonics or Radiography are preferred.
- Expertise Required: Signal interpretation is complex and demands advanced training.
Quick Comparison Table:
| NDT Method | Best For | Primary Limitation | Contact Required? |
|---|---|---|---|
| Eddy Current | Surface/subsurface cracks in Alu, conductivity, coatings | Non-conductive materials, depth | No |
| Ultrasonic | Deep volumetric flaws, thickness | Surface prep, couplant needed | Yes (couplant) |
| Liquid Penetrant | Surface-breaking flaws, all materials | Surface only, clean-up | Yes |
| Magnetic Particle | Surface/subsurface cracks in steel | Ferromagnetic materials only | Yes |
6: Career Path & Mastering Eddy Current Testing
Specializing and excelling in Eddy Current Testing represents a major milestone in an NDT career. Often considered the “engineer’s method,” it demands not only manual dexterity but, more importantly, a deep understanding of physical variables and sharp analytical skills.
As detailed in our complete guide to NDT Levels Explained, the progression from a scan operator to a Level 2 analyst requires mastering these physical principles.
- Level 1: Performs scans according to detailed written instructions.
- Level 2: The core practitioner. Calibrates equipment, sets up the impedance plane, interprets and evaluates signals, and writes procedures. This is the technician who makes the final call on an indication.
- Level 3: Defines overall methods, designs procedures for new applications, oversees training, and manages the quality assurance of the entire NDT program.
Career prospects are excellent, particularly in aerospace, power generation, nuclear, and high-tech manufacturing, with roles such as NDT Manager, Applications Engineer, or Technical Trainer.
Conclusion: The Guardian of Aerospace Structures in an Era of Aging Fleets
Eddy Current Testing remains, and will remain, the invisible guardian of aerospace aluminum structures. As global fleets age and fatigue cycles accumulate, reliance on ET for the early detection of fatigue cracks around fasteners and flaws in critical joints will only increase. Technological evolutions like multi-frequency digitization, portable C-Scan imaging, and the integration of Artificial Intelligence (AI) for decision support will further cement its place.
For the technician aspiring to excellence, investing time to understand the physics of the coil, the geometry of the impedance plane, and the behavior of currents in the material is not an academic pursuit. It is what defines the essential difference, on the tarmac or in the hangar, between assuming and knowing with certainty. It is the art of giving materials a voice, so they reveal their weaknesses before they become tragedies.
Call to Action: Ready to specialize in a high-demand NDT method? Explore ASNT or EN 4179 certification programs and invest in your future by mastering Eddy Current Testing.

